


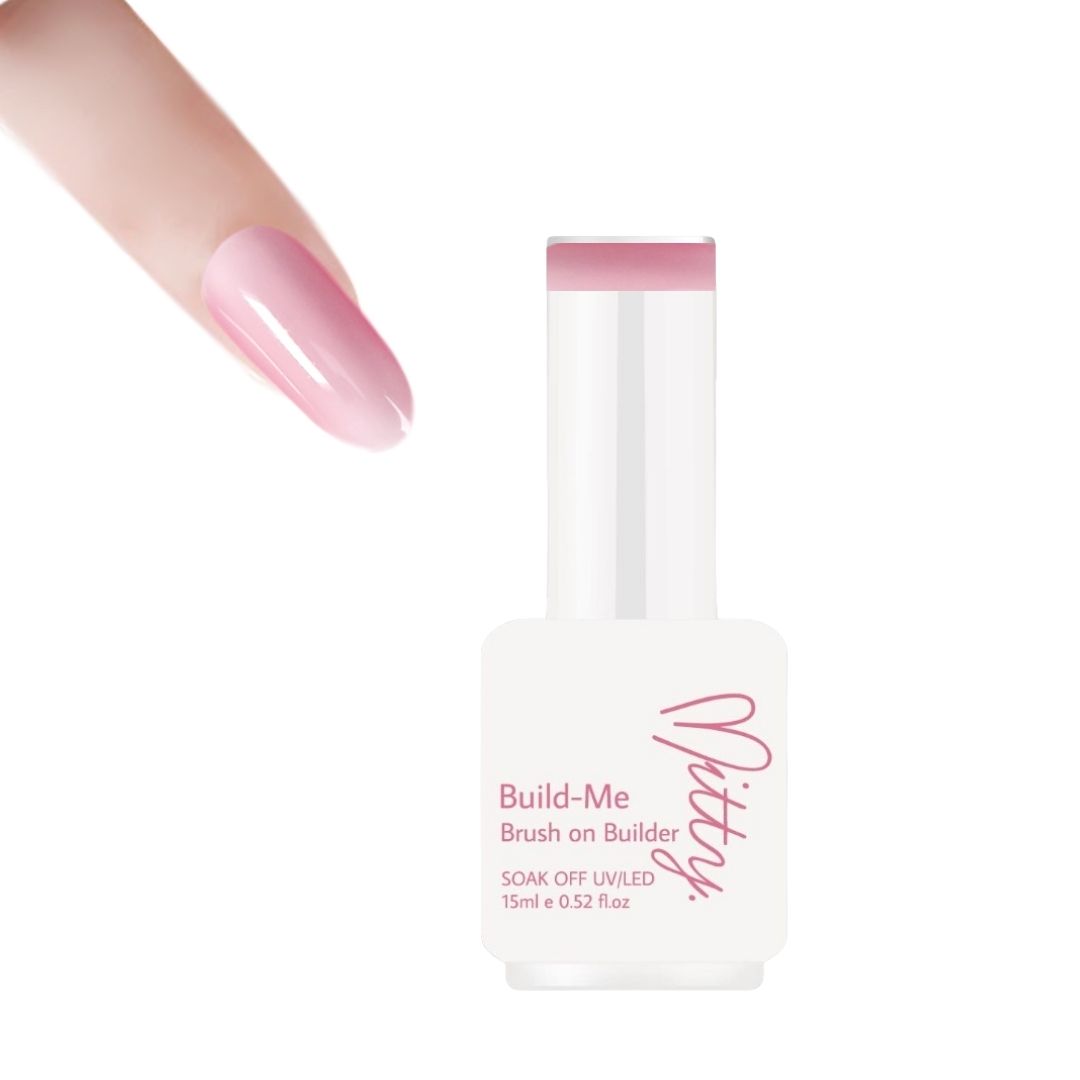


Why choose Mitty Brush on Builder Gel Untold Secrets?
Quick application and removal
Mitty Brush on Builder gel is designed to keep its shape, reducing the application time, and it only needs minimal filing. This means you will have a fabulous mani a lot faster!
Mitty Brush on Builder is UV and LED curable and soaks off with acetone in 10-15 minutes.
Feels like your own nails with polish on
Compared to regular builder gels, Mitty Brush on Builder gel formula has a lighter, more flexible feel on the nail. It feels no heavier than a gel polish manicure.
Stronger
Mitty Brush on Builder gel is designed to be super strong. It can create an extension over a nail tip or form and add strength to the natural nail. Builder Gel can create a long-wearing, strong and durable foundation to prevent nail breaks and help strengthen whilst growing your natural nails.
Thanks to its specially designed formulation, Mitty Builder Gel can be applied thinner than conventional builder gels, giving the nail a sleek profile.
More Benefits:
less damaging to nail
No strong fumes
Less filing
Better adhesion
Less filing
It can be done at home or salon
Can be used on natural nail, tips or forms. No limitation.
Refill? You can simply backfill or remove and refill. The choice is yours. However, backfill is recommended.
How to apply:
Step 1: Clean your hands using sanitizing spray or gel. Manicure your nails by gently pushing back your cuticles.
Step 2: Clean and dehydrate the nail plate using nail polish remover or an alcohol wipe.
Step 3: If you are using tips to lengthen your nails, apply the tip using nail glue and file the tip down so that the surface between your nail and tip is even. Gently remove the shine from the nail plate and the nail tip using a sponge file.
Step 4: Use Mitty PH Bonder to the nail plate. Only apply it to the natural nail. Use sparingly, and don’t touch the skin with it.
Step 5: Apply Mitty Gel Primer to the nail but not the nail tip.
Step 6: Brush on a thin layer of the Mitty Brush on Builder Gel Untold Secrets and cure. Do not wipe this layer.
Step 7: Apply a thicker layer and spread it with the brush side to side. Make sure you stay away from your cuticles. It is best to aim for a level layer, especially in your free edge (part of your nails that extends past your cuticles). Cure.
Step 8: Assess the shape and thickness of your nails. You can add a third layer if you like to have thicker nails or see uneven areas. Remember to not wipe the nail between layers.
Step 9: If you are ready to shape the nail, you can now clean the tacky layer with alcohol.
Step 10: Refine and buff your nails into shape using a 120/180 grit. We want to reduce any excess product around your cuticle area and the free edge.
Step 11: If you need to apply more gel to the nail, you can. Just remember that the gel will only stick to a matte or tacky layer.
Step 12: Once filed and happy with the shape, remove the dust filings with a nail brush and apply your topcoat.
PLEASE NOTE: Curing time may differ depending on the voltage of your nail art lamp.


